

Showing posts with label international. Show all posts
Showing posts with label international. Show all posts
Tuesday, May 12, 2020
Steppe Brother
I do love my international people and could probably add to that set indefinitely. I'm always looking at cute clipart of kids from around the world and drooling at the thought of filling a whole tree with those. I needed to cut out something quickly one day and went back to my Carolyn DeAngelis patterns. I saw the pattern for Steppe Brother, a Russian Cossack, and decided to whip him up. I looked at a few Google images for color inspiration and I'm really happy with how he turned out.


Sophia
Once I finished Steppe Brother, I wanted to make him a friend. I really like my Internationals to be in pairs. Usually I do a boy and girl, but the Eskimo has the husky dog and my Paco has a donkey. There's a Carolyn DeAngelis pattern for a cute Peruvian girl, and she might get a llama. But I digress.
Sophia is the pattern designed to go with Steppe Brother, but she's a little random:


Sophia is the pattern designed to go with Steppe Brother, but she's a little random:

And she looks suspiciously like Happy Heidi, but with different hair:

I did a little searching for traditional Russian costumes and landed on these two images I liked:


I took elements from the two of them and put a new spin on Sophia:

She looks kind of nondescript on her own, but when you see the pair, it makes sense.

Tuesday, April 30, 2019
Dutch Couple
I haven't done any international people in a while and I decided I wanted to add to that collection. I like the idea of little groupings within my collection. I'll make it easier for my kids to divide up the ornaments when I die. "You get the international people and I get the Peanuts characters." LOL!
So far, this is what my group includes:


So far, this is what my group includes:


Most of those are DeAngelis Patterns -- all except the Thai people and I did them myself. And once again, I didn't put noses on some of these and I don't know why. It makes the Thai people look like aliens. My stitching details have evolved over time. Anyhoo . . . I was perusing patterns one day looking for something simple and decided to whip up the Dutch Couple: Dutch Uncle and Della From Delft. Once again, I drew inspiration from Clif and Ouida.
Clif's Pair


Ouida's Della


You can see that Ouida used the original hair pattern, while I went with an actual braid like I used on the Anna and Elsa Frozen ornaments. I did a little little Googling and decided to add a white shirt to my Dutch Uncle. I kinda like Clif's hat with the brim. Different stitchers add their own unique details!
Sunday, November 26, 2017
Pierre
Alex, my oldest nephew, is a sophomore at Ohio University. I made him an ornament of his school mascot last year. And now that I type that, I realize that I neither posted it . . . nor took a picture of it. I'll have to have my sister take a pic and send it to me. Anyway, since I already made that, it was hard to decide what to do for him this year. He did a study-abroad trip to France in May and he nearly got a French poodle before I came up with the idea to just do a French guy. I Googled "French boy cartoon" or something like that and came up with some generic ideas. Then I took the general features from the DeAngelis Solo Sam and stole the beret from Marching Brayden. I added a French flag and . . . PIERRE WAS BORN!

I did have to stitch to separate the arms because of the stripes and those stripes are individually stitched on. No fun, I tell you. But he turned out great and I think Alex will love him. Because I adapted a DeAngelis pattern, I'm happy to share this one with you. Make it fit an 8.5 x 11 sheet of paper and you'll be all set.


I did have to stitch to separate the arms because of the stripes and those stripes are individually stitched on. No fun, I tell you. But he turned out great and I think Alex will love him. Because I adapted a DeAngelis pattern, I'm happy to share this one with you. Make it fit an 8.5 x 11 sheet of paper and you'll be all set.

Monday, July 7, 2014
Pim & Pong Thiemmedh
Well, I certainly didn't mean to be away this long! It's true -- these two ornaments did take some time. They took a little while to design, and then took awhile to stitch. Then I had to locate just the right trim. You get the picture! Once I finally hit summer and was able to spend my evenings stitching instead of checking homework, I was able to get them done.
I had this picture saved from a couple of years ago when I did a Google search for "felt ornaments."

I just immediately thought they were something special and knew I'd want to make a pattern for them. Barb, a faithful blog reader, and I exchanged several emails for ideas for new ornaments. She did some digging and found that a) this was a photo from an old coloring/activity book featuring international dolls and, b) the entire coloring book was online. How exciting! She took the time to email me all the pages, including these:


I don't have to tell you that these black & white outline drawings certainly made my work easier! It took some time to figure out how much detail was feasible to include. Next up was the color choice. These are traditional people from Siam (now Thailand) and I spent some time looking at pictures online. In the end, I stuck pretty close to the colors in the book because they seemed to be pretty true to the photos I looked at. Green & red were also used a lot, but I didn't want these to look to Christmasy. I knew I'd want to use some decorative trims and found some perfect candidates at Wal Mart, of all places.
I spent more time than I'd like to admit fussing over the eyes. Waaaaay back when I did the nativity kings, I was bothered by the eyes on the eastern king. He looked a little like he just stepped off a spaceship! I don't know how many pairs of tiny eyes I cut out trying to get something that worked. I finally figured out that if I cut thin football shapes and then just barely nipped the points off, I wound up with a shape I liked. I could still improve them for future Asian-influenced ornaments. The degree of the slant makes a big difference, for example. But hey -- it's a felt ornament, right?
So I won't hold you in suspense any longer. Here they are in all their glory:


"Love" is probably not a strong enough word. These go straight to the top of my list of favorite ornaments I've made. The husband and daughter are big fans, too! You might be wondering about the names. We have a good friend who is originally from Thailand whose name is Pong Thiemmedh:

It seemed only fitting that I name the boy after him. Pong's sister's name is Prang (pronounced "prong"). Pong and Prang. Nope -- too rhymey. I searched for common Thai female names and landed on Pim. Pim and Pong -- I like it! I hope you do, too!!
I had this picture saved from a couple of years ago when I did a Google search for "felt ornaments."
I just immediately thought they were something special and knew I'd want to make a pattern for them. Barb, a faithful blog reader, and I exchanged several emails for ideas for new ornaments. She did some digging and found that a) this was a photo from an old coloring/activity book featuring international dolls and, b) the entire coloring book was online. How exciting! She took the time to email me all the pages, including these:
I don't have to tell you that these black & white outline drawings certainly made my work easier! It took some time to figure out how much detail was feasible to include. Next up was the color choice. These are traditional people from Siam (now Thailand) and I spent some time looking at pictures online. In the end, I stuck pretty close to the colors in the book because they seemed to be pretty true to the photos I looked at. Green & red were also used a lot, but I didn't want these to look to Christmasy. I knew I'd want to use some decorative trims and found some perfect candidates at Wal Mart, of all places.
I spent more time than I'd like to admit fussing over the eyes. Waaaaay back when I did the nativity kings, I was bothered by the eyes on the eastern king. He looked a little like he just stepped off a spaceship! I don't know how many pairs of tiny eyes I cut out trying to get something that worked. I finally figured out that if I cut thin football shapes and then just barely nipped the points off, I wound up with a shape I liked. I could still improve them for future Asian-influenced ornaments. The degree of the slant makes a big difference, for example. But hey -- it's a felt ornament, right?
So I won't hold you in suspense any longer. Here they are in all their glory:
"Love" is probably not a strong enough word. These go straight to the top of my list of favorite ornaments I've made. The husband and daughter are big fans, too! You might be wondering about the names. We have a good friend who is originally from Thailand whose name is Pong Thiemmedh:
It seemed only fitting that I name the boy after him. Pong's sister's name is Prang (pronounced "prong"). Pong and Prang. Nope -- too rhymey. I searched for common Thai female names and landed on Pim. Pim and Pong -- I like it! I hope you do, too!!
Friday, November 2, 2012
Miss Greenland
These go straight to my top ten list of favorite ornaments! They are SO cute and really very easy. Ouida and I had a conversation about how best to negotiate that fur trim -- especially around the face. I didn't just want to stitch it all down to the ornament because I didn't think she'd have any dimension. With these pieces being so simple, I wanted to give her a little something special. Ouida suggested fake fur, which I was solidly in favor of. The problem, however, is that I had no fake fur in my possession and had no trip to the fabric store in my immediate plans. I opted for glitter felt instead.
Rather than just stitch the felt to the ornament, I decided to stitch two layers of glitter felt together. For the face piece, I stitched around the outside edge first. Then I stitched through the inside edge as I was attaching it to the face. (Does that make sense?) In other words, the fur is attached to the ornament in the center of the piece, but remains free on the outside. That made it puff out a little and gave it some dimension. For the lower fur piece, I stitched it front-to-back all the way around and then just glued it on when I was finished with the ornament.
Several of you have emailed me with construction questions, so I'd thought I'd do a little step-by-step guide with photos for this one. Captions are underneath the photo they accompany.

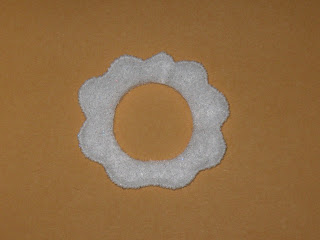


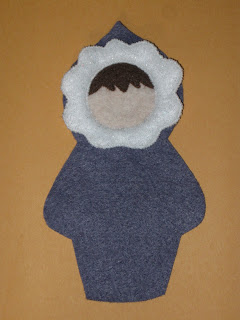


Rather than just stitch the felt to the ornament, I decided to stitch two layers of glitter felt together. For the face piece, I stitched around the outside edge first. Then I stitched through the inside edge as I was attaching it to the face. (Does that make sense?) In other words, the fur is attached to the ornament in the center of the piece, but remains free on the outside. That made it puff out a little and gave it some dimension. For the lower fur piece, I stitched it front-to-back all the way around and then just glued it on when I was finished with the ornament.
Several of you have emailed me with construction questions, so I'd thought I'd do a little step-by-step guide with photos for this one. Captions are underneath the photo they accompany.

I started by stitching the hair to the face piece.

Next, I did step one of the face fur piece.
I stitched two layers of glitter felt together around the outside edge only.

I trimmed a little off the face piece -- about 1/8". Because I'm not stitching the face fur piece to the ornament around the outside edge, thus concealing the edges of the face, it needed to be a little smaller or it stuck out too far and was visible.

I needed to do a test run to be sure I had the face piece in the right place before I stitched it. I laid it on there and pinned it.

Then I laid the fur piece over the top to be sure everything
was centered and where I wanted it.

I stitched the face piece to the body all the way around.
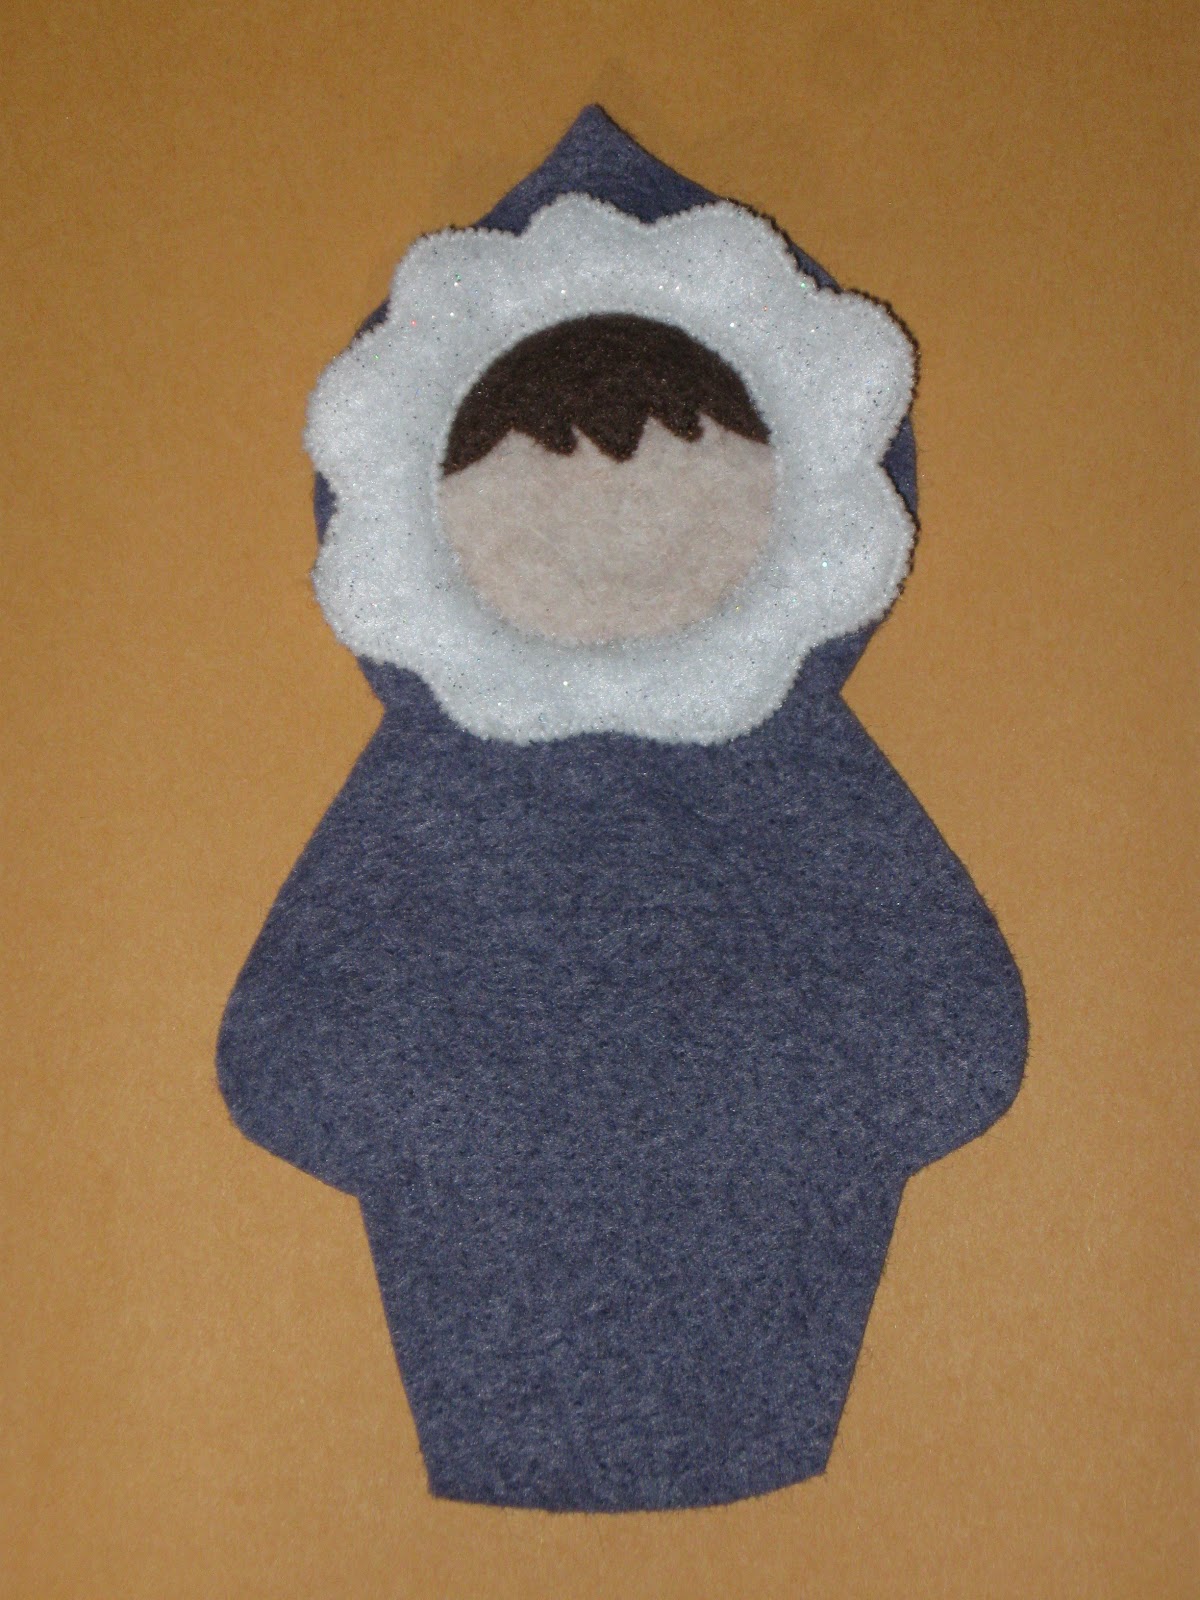
Next, I laid the fur piece on top of the face. Remember -- it's already stitched around the outside edge. I pinned it in four places and then proceeded to stitch it to the body. At this point, I'm actually stitching the fur piece shut on the inside curve while stitching it to the body at the same time. It is not stuffed -- just two layers of felt that have been stitched together. This means that I am stitching through 4-5 layers of felt at the same time: the body, the face, two layers of the fur, and sometimes the hair. This is not difficult -- don't let it scare you! I took lots of stitches and pulled as tightly as I could without breaking the thread.

Next came the face. I just used two strands of regular thread.
I did not draw it on there -- just did it freehand according to the pattern.

Next came the little mittens. If you look on the left, you can see that it didn't line up perfectly. That's okay -- I'll fix that in a minute. I just lined them up as best I could and stitched them on there.

When I finished stitching them on, I turned it over to the back. Now you can REALLY see the imperfection! Because I was ultimately going to line up the front and back body pieces to stitch it together, I wanted the mittens to line up with that piece, so I trimmed off the excess.

See? Much better!

Sometimes when I have two layers of felt on an outside piece, I trim away the underneath. That keeps me from stitching through 4 layers of felt when I stitch it front-to-back.

The final piece on the front was the shoes.
Time to go to the back!

I stitch the dates on the back of all my ornaments. Nothing fancy: just a single strand of thread in a contrasting color. I'm always amused by how my zeroes turn out. Sometimes they're nice and round . . . sometimes they're blocky . . . and sometimes they're octagonal. Can I tell you how much I'm dreading the 3 for 2013?

Shoes on the back!

And now the journey of finishing begins. It's always a dilemma about where to start the closing stitching and where to leave the opening for stuffing. On an ornament like the Viking, it was a no-brainer. That shield was going to cover up part of the body, so I put the opening there.
For people ornaments, I generally like to stitch and stuff as I go. It's hard to stuff an entire ornament from one little hole. For this one, I decided to stuff from the bottom. I started above the mitten on the right and stitched up the arm, around the head, and back down the other arm to the top of the other mitten. Then I stuffed the head and neck.

To finish, I stitched each side from the mitten down to the top of the shoes. Then I stuffed the lower half of the ornament. Finally, I stitched the shoes almost completely, finished stuffing them, and closed her up!

I stitched two layers of glitter felt together front to back -- again, no stuffing. That glitter felt is a little thick and coarse anyway, so it's got some dimension to it.

I used my hot glue gun to attach the fur to the ornament.

And for the final touch, I added a little sparkly pom-pom to the hat. You don't have to do that. She looks just as cute without it . . . . or you could even punch a circle from whatever you use for the fur. This purple one is for Brittany, my longest-running piano student.

The turquoise one is for Taylor, another of my students. This is her favorite color.

Here is Miss Greenland with her first runner-up!

And finally, here she is with her faithful sled dog. This is for Taylor and her brother, Ethan. This pair is most definitely on my immediate to-do for 2013 for my personal collection!
Thursday, November 1, 2012
International People
I was cruising around on Etsy the other day and did a search in their vintage section for felt ornaments. Lo and behold . . . these popped up!


I immediately downloaded the pictures because I knew the ornaments would sell and they'd be gone before I could study them. It's a good thing I did, because someone bought them the next day. At first glance, I thought they were all Carolyn DeAngelis patterns. I know for sure some of them are. The Mexican boy on the left in the turquoise poncho is Pacos. The native American girl on the right is Sweet Siouxzee. I have a few international patterns that I'm not super familiar with, so I checked them. None of what I have matches anything here. Hmmmmmmmm . . . .
And here's where the plot thickens. There was something about that Mayan Indian boy on the bottom right that seemed familiar to me for some reason. I have a file of pictures that I keep on my computer with ornament ideas. Various things . . . clipart that I think I can adapt or other pictures that I think could make good ornaments. I did a check and look what I found:

Coincidence? I think not! Now I'm wondering if the picture on the right is from a pattern book! And how can it get it if it is??? Anybody have any information about these?
Worse case scenario: I'll be designing some new patterns! I'm particular fond of the matador & his senorita . . . the Irish couple . . . and the Scottish dancer in his kilt. Which ones are your favorites?


I immediately downloaded the pictures because I knew the ornaments would sell and they'd be gone before I could study them. It's a good thing I did, because someone bought them the next day. At first glance, I thought they were all Carolyn DeAngelis patterns. I know for sure some of them are. The Mexican boy on the left in the turquoise poncho is Pacos. The native American girl on the right is Sweet Siouxzee. I have a few international patterns that I'm not super familiar with, so I checked them. None of what I have matches anything here. Hmmmmmmmm . . . .
And here's where the plot thickens. There was something about that Mayan Indian boy on the bottom right that seemed familiar to me for some reason. I have a file of pictures that I keep on my computer with ornament ideas. Various things . . . clipart that I think I can adapt or other pictures that I think could make good ornaments. I did a check and look what I found:

Coincidence? I think not! Now I'm wondering if the picture on the right is from a pattern book! And how can it get it if it is??? Anybody have any information about these?
Worse case scenario: I'll be designing some new patterns! I'm particular fond of the matador & his senorita . . . the Irish couple . . . and the Scottish dancer in his kilt. Which ones are your favorites?
Subscribe to:
Posts (Atom)