
Rather than just stitch the felt to the ornament, I decided to stitch two layers of glitter felt together. For the face piece, I stitched around the outside edge first. Then I stitched through the inside edge as I was attaching it to the face. (Does that make sense?) In other words, the fur is attached to the ornament in the center of the piece, but remains free on the outside. That made it puff out a little and gave it some dimension. For the lower fur piece, I stitched it front-to-back all the way around and then just glued it on when I was finished with the ornament.
Several of you have emailed me with construction questions, so I'd thought I'd do a little step-by-step guide with photos for this one. Captions are underneath the photo they accompany.

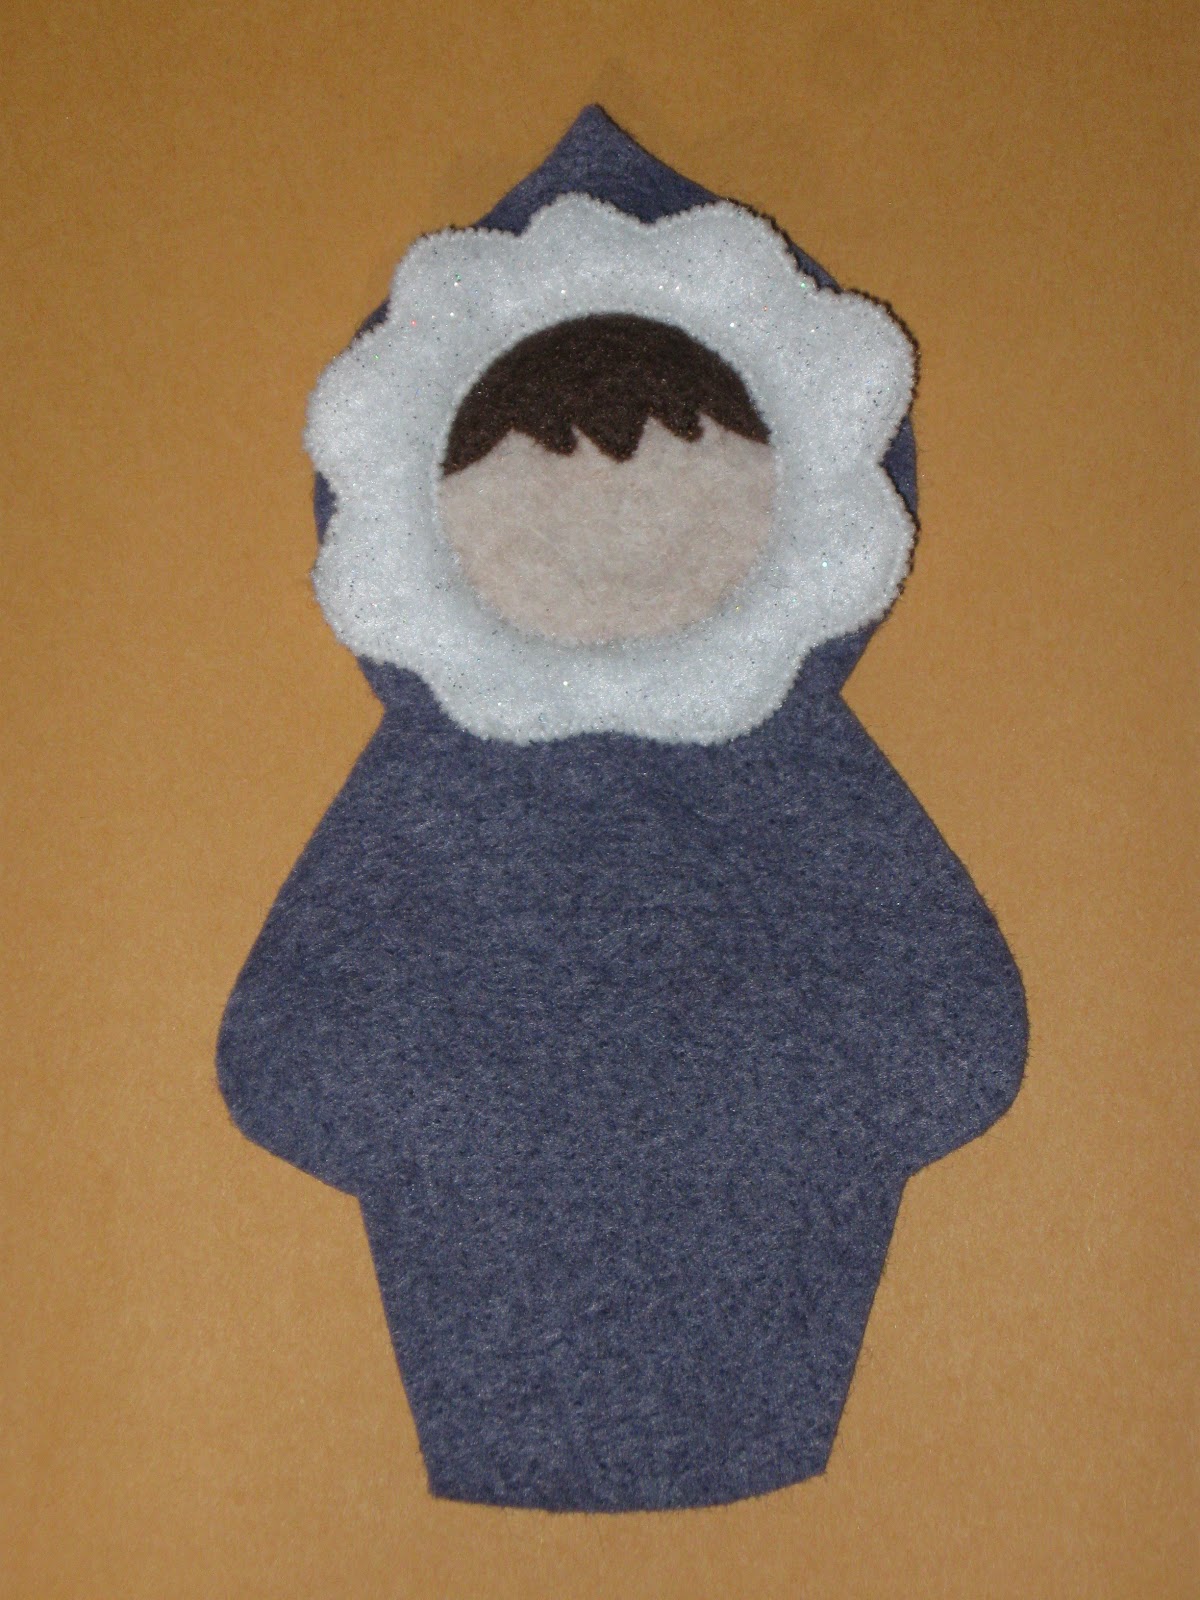
I started by stitching the hair to the face piece.

Next, I did step one of the face fur piece.
I stitched two layers of glitter felt together around the outside edge only.

I trimmed a little off the face piece -- about 1/8". Because I'm not stitching the face fur piece to the ornament around the outside edge, thus concealing the edges of the face, it needed to be a little smaller or it stuck out too far and was visible.

I needed to do a test run to be sure I had the face piece in the right place before I stitched it. I laid it on there and pinned it.

Then I laid the fur piece over the top to be sure everything
was centered and where I wanted it.

I stitched the face piece to the body all the way around.
Next, I laid the fur piece on top of the face. Remember -- it's already stitched around the outside edge. I pinned it in four places and then proceeded to stitch it to the body. At this point, I'm actually stitching the fur piece shut on the inside curve while stitching it to the body at the same time. It is not stuffed -- just two layers of felt that have been stitched together. This means that I am stitching through 4-5 layers of felt at the same time: the body, the face, two layers of the fur, and sometimes the hair. This is not difficult -- don't let it scare you! I took lots of stitches and pulled as tightly as I could without breaking the thread.

Next came the face. I just used two strands of regular thread.
I did not draw it on there -- just did it freehand according to the pattern.

Next came the little mittens. If you look on the left, you can see that it didn't line up perfectly. That's okay -- I'll fix that in a minute. I just lined them up as best I could and stitched them on there.

When I finished stitching them on, I turned it over to the back. Now you can REALLY see the imperfection! Because I was ultimately going to line up the front and back body pieces to stitch it together, I wanted the mittens to line up with that piece, so I trimmed off the excess.

See? Much better!

Sometimes when I have two layers of felt on an outside piece, I trim away the underneath. That keeps me from stitching through 4 layers of felt when I stitch it front-to-back.

The final piece on the front was the shoes.
Time to go to the back!

I stitch the dates on the back of all my ornaments. Nothing fancy: just a single strand of thread in a contrasting color. I'm always amused by how my zeroes turn out. Sometimes they're nice and round . . . sometimes they're blocky . . . and sometimes they're octagonal. Can I tell you how much I'm dreading the 3 for 2013?

Shoes on the back!

And now the journey of finishing begins. It's always a dilemma about where to start the closing stitching and where to leave the opening for stuffing. On an ornament like the Viking, it was a no-brainer. That shield was going to cover up part of the body, so I put the opening there.
For people ornaments, I generally like to stitch and stuff as I go. It's hard to stuff an entire ornament from one little hole. For this one, I decided to stuff from the bottom. I started above the mitten on the right and stitched up the arm, around the head, and back down the other arm to the top of the other mitten. Then I stuffed the head and neck.

To finish, I stitched each side from the mitten down to the top of the shoes. Then I stuffed the lower half of the ornament. Finally, I stitched the shoes almost completely, finished stuffing them, and closed her up!

I stitched two layers of glitter felt together front to back -- again, no stuffing. That glitter felt is a little thick and coarse anyway, so it's got some dimension to it.

I used my hot glue gun to attach the fur to the ornament.

And for the final touch, I added a little sparkly pom-pom to the hat. You don't have to do that. She looks just as cute without it . . . . or you could even punch a circle from whatever you use for the fur. This purple one is for Brittany, my longest-running piano student.

The turquoise one is for Taylor, another of my students. This is her favorite color.

Here is Miss Greenland with her first runner-up!

And finally, here she is with her faithful sled dog. This is for Taylor and her brother, Ethan. This pair is most definitely on my immediate to-do for 2013 for my personal collection!
love it :)
ReplyDeleteGood work Amy.
ReplyDelete